
When importing PowerApps SharePoint-based solutions into upper level environments (such as from development to test environment), it’s typically necessary to provision a dedicated site and the lists that each environment will use. Unlike Dataverse solutions where importing a solution automatically creates the tables in the target environment, SharePoint sites and list resources are not.
This gap led me to ask: what’s the most efficient, programmatic way to create these SharePoint resources? Well, since you’ve read the title, you probably know where this is going: PowerShell PnP to the rescue!
I’m going to assume you already have the SharePoint PnP Module installed and have the necessary permissions to connect using Connect-PnPOnline. That topic is beyond the scope of this post, so if you’re unsure, I’d recommend checking out this post, or seek guidance from your IT Administrator.
The Cmdlets
Export-PnPListToSiteTemplate
The Export-PnPListToSiteTemplate allows us to export our list schemas to an xml file. The files are later used for importing to our destination site. This works for both lists and libraries.
Export-PnPListToSiteTemplate -List "My List" -out "C:\My List.xml"
New-PnPSite
New-PnPSite allows us to create a new SharePoint Site. My best practice is to create your Test, Staging, and Production SharePoint sites on a separate site collection and not all within the same site. Look at the documentation carefully for this cmdlet, as there are a lot of options can that be specified. For example, you can configure whether the site is a Teams Site, Communication Site, or even a Site without Teams Connected to it. Typically, I go with a Teams Site.
New-PnPSite -Type TeamSite -Title "My New Site" -alias "mynewsite"
Invoke-PnPSiteTemplate
Invoke-PnPSiteTemplate – Imports list schema xml file to the destination SharePoint Site. From the exported xml files using Export-PnPListToSiteTemplate, we import each one-by-one. Below, I have a folder containing all of the xml files to import:

$TemplateFiles = Get-ChildItem -Path "C:\Users\Brendan\AppData\Local\Temp\DateGenerator"

Foreach ($file in $TemplateFiles){

    Invoke-PnPSiteTemplate -Path $file.FullName

}
When using lookup columns, the order in which they are imported matters—otherwise, the lookups will not work correctly. For example, if you have a “Projects” list and a “Tasks” list, and the Tasks list includes a lookup to Projects, you should import the Projects list first, followed by the Tasks list.
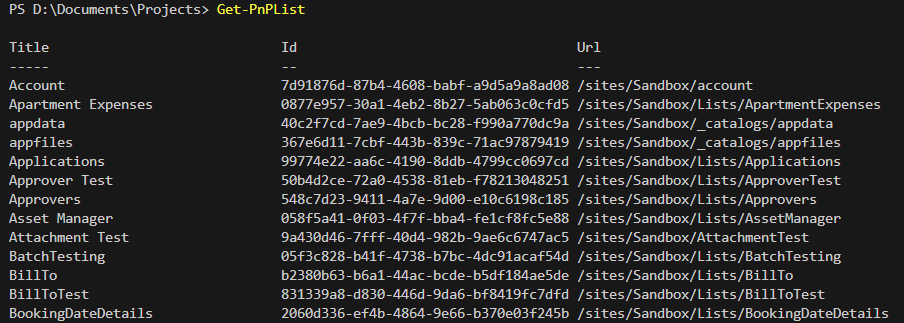
Get-PnPList
Get-PnPList retrieves all of the lists for the SharePoint Site. This is a quick-and-dirty means of validating the lists exist. The unique Id for the lists as well as the Title can be used in other PnP cmdlets such as to get items in the list with Get-PnPListItem for example. In addition, for ALM purposes, it’s essential to obtain the lists ids when needing to populate a Deployment Settings File using PAC CLI.
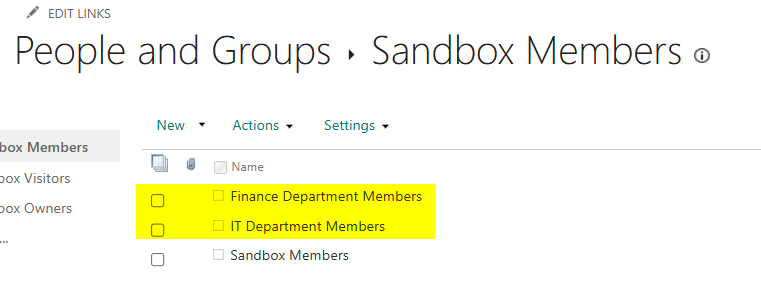
Add-PnPGroupMember
Add-PnPGroupMember adds a user or group to an existing SharePoint group. This is especially useful for quickly adding members in bulk. I typically use Azure AD groups—rather than individual users—and assign it to the SharePoint site with the minimum required permissions. I’ll then add those same groups to the Canvas App to grant app access.
$GroupName = "Sandbox Members"
# Add the Email Addresses into the $Groups Array
$Groups = @(
"ITTeam@powerfxhelp.onmicrosoft.com",
"Finance@powerfxhelp.onmicrosoft.com"
)

$Groups | ForEach-Object {

Write-Host "Adding Member: $_ to group $($GroupName)"
Add-PnPGroupMember -EmailAddress $_ -Identity $GroupName

}
I have a “Date Generator” solution which uses one SharePoint Site and Two Lists called “Date Generator” and “Holidays”. The script below will connect to the dev site, export the list schema, create a new site, and import the list schemas to the newly created site.
<#
Use this script to:

1. Export Site Templates from a Source Site
2. Create a new Teams Site
3. Import Site Templates to Destination Site

#>
$ErrorActionPreference = "STOP"
$ProjectName = "DateGenerator"
$ExportPath =  join-path $env:TEMP -ChildPath $ProjectName

# Define the Lists to generate a template for in the array
$Lists = @(
    "DateGenerator"
    "Holidays"
)

$ClientID = $global:clientid #Change this as needed to the registered client id for your PnP App Registration
$SourceSiteURL = "https://mysite.sharepoint.com/sites/Sandbox"
$DestinationSiteURL = "https://mysite.sharepoint.com/sites/mytestsite" # This will be the new site created

$NewSiteParams = @{
Type = "TeamSite"
Title = "MyTestSite"
alias = $DestinationSiteURL.Split('/')[-1]
}

Connect-PnPOnline -Url $SourceSiteURL -Interactive -ClientId $ClientID

# Export the lists to template file

For($i=0;$i -lt $Lists.Length;$i++){

    $ListName = $Lists[$i]

    try {

        $ListInfo = Get-PnPList $ListName -ErrorAction Stop

        $TemplateFileName = $(Join-Path -Path $ExportPath -ChildPath "$i-$($ListName).xml")

        Export-PnPListToSiteTemplate -List $ListInfo.Id $TemplateFileName

    } catch {

        Write-Output "An error occurred: $_"
    }

}

# Create the New Site

New-PnPSite @NewSiteParams -ErrorAction Stop

# Disconnect from Source Site

Disconnect-PnPOnline

# Import the templates to the new site

Connect-PnPOnline -Url $DestinationSiteURL -Interactive -ClientId $ClientID

# Import the Templates to the Destination

$TemplateFiles = Get-ChildItem -Path $ExportPath

Foreach ($file in $TemplateFiles){

    Invoke-PnPSiteTemplate -Path $file.FullName

}

# Clean up

Remove-Item $ExportPath -Recurse -Force  -Confirm:$false

Disconnect-PnPOnline